10 Tips for Getting the Best Sound in Your Studio Session
Master your audio with our comprehensive guide to recording tips, covering everything from acoustics to microphone placement for professional studio sound.
# 10 Essential Tips for Achieving Pristine Studio Sound
Achieving professional-grade sound in your studio sessions is crucial for making a lasting impact. Whether you're recording vocals, instruments, or podcasts, the quality of your audio directly reflects the quality of your work. At FreeMe Space, we understand that great sound isn't just about talent; it's about environment, equipment, and technique. This guide offers 10 essential recording tips to help you maximize your studio time and capture the best possible audio.
1. Optimize Your Acoustic Environment
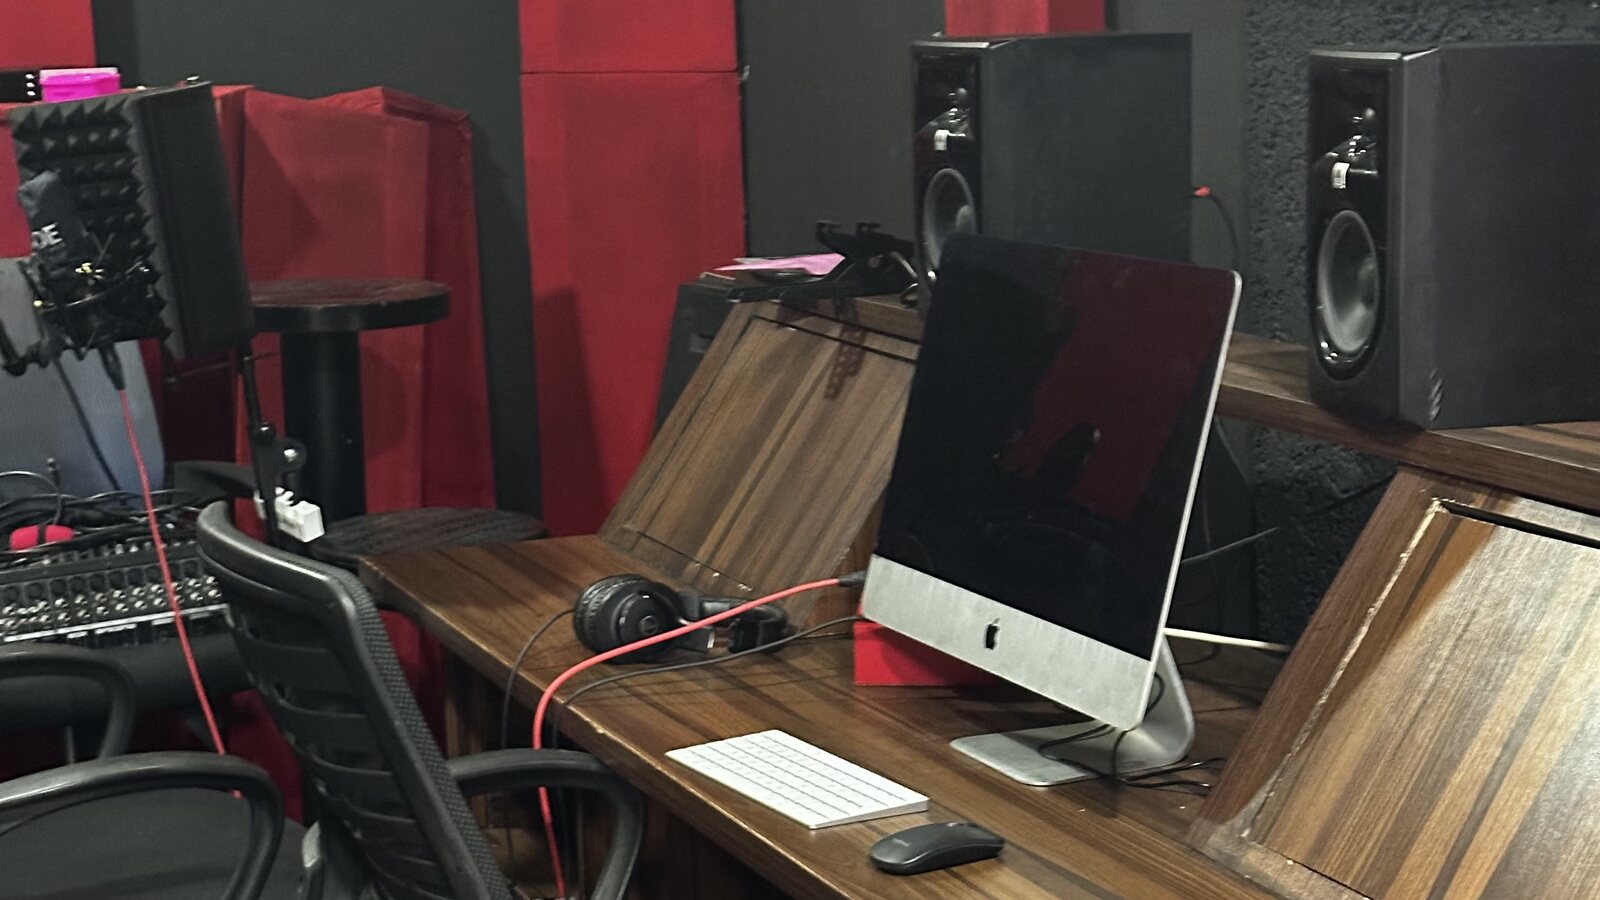
The room where you record is as important as the microphones you use. Unwanted reflections, standing waves, and room modes can color your sound negatively, leading to muddiness or harshness. Proper acoustic treatment, including bass traps, absorption panels, and diffusers, can tame these issues. At FreeMe Space, our dedicated /facilities/soundstage is expertly designed with optimal acoustics to minimize unwanted reflections and provide a neutral sonic canvas for your recordings, ensuring your audio is captured cleanly from the source.
2. Master Microphone Selection and Placement
Choosing the right microphone for the source is fundamental. Dynamic mics are robust and great for loud sources like guitar amps and drums, while condenser mics are sensitive and ideal for capturing nuanced details in vocals and acoustic instruments. Ribbon mics offer a warm, vintage tone. Beyond selection, placement is key. Experiment with distance, angle, and height to find the sweet spot that flatters the instrument or voice. Understanding polar patterns (cardioid, omnidirectional, figure-8) helps in controlling what the microphone picks up, isolating the source or capturing room ambience as needed.
3. Nail Your Gain Staging
Proper gain staging ensures your signal chain is set up correctly, maintaining optimal levels throughout. Start by setting a healthy input level on your preamp or interface, aiming for peak levels that leave plenty of headroom – typically between -12dB and -6dB on your meters. This prevents clipping, which is irreversible digital distortion, and minimizes the noise floor. A clean, strong signal at the input stage makes subsequent processing much easier and yields a better final product.
4. Craft an Effective Monitoring Mix
A clear and balanced monitoring mix is essential for performers to deliver their best takes. The monitor mix should provide enough of each element for the performer to hear themselves and the other tracks accurately, helping them stay in tune and time. Pay attention to the relationship between vocals and instruments, ensuring they sit well together. While EQ can be used in the headphone mix for clarity, remember that this EQ is typically applied to the monitor send only and doesn't affect the recorded signal.
5. Understand EQ and Compression Basics
Equalization (EQ) and compression are powerful tools for shaping sound. EQ allows you to adjust the balance of frequencies within a signal, helping to remove muddiness, add clarity, or enhance specific characteristics of a sound. Compression controls the dynamic range, reducing the difference between the loudest and quietest parts, which can make a track feel more consistent and punchy. Start with subtle adjustments and learn how each tool affects the sound; over-processing can often be detrimental.
6. Minimize Noise and Interference
Unwanted noise – whether it's amplifier hum, electrical buzz, HVAC systems, or even computer fan noise – can significantly degrade your recordings. Use high-quality, well-shielded cables and ensure all your equipment is properly grounded to eliminate electrical hums. Turn off noisy equipment during recording if possible. For critical vocal or podcast recordings, a quiet environment is paramount. Our dedicated /facilities/podcast-studio is designed with sound isolation in mind, offering a silent space for capturing crystal-clear spoken word or vocal performances.
7. Use Reference Tracks Wisely
Reference tracks are commercially released songs that you use as a benchmark for your own productions. They help you evaluate your mix's balance, tonal characteristics, and overall loudness in relation to professional standards. Listen to your mix and the reference track back-to-back on the same playback system. This comparison can reveal deficiencies in your low-end, treble, or dynamics that you might otherwise miss. It’s a valuable reality check for maintaining audio quality.
8. Perfect Your Vocal Recording
Vocals are often the centerpiece of a track, so getting them right is critical. Beyond choosing the right microphone and environment, pay attention to the performer's technique, mic distance, and angle. A pop filter is essential to mitigate plosive sounds ("p" and "b" sounds), and a shock mount can prevent vibrations from being transmitted into the microphone. Experimenting with mic placement relative to the singer can alter the tone and presence, helping to capture the desired character. As noted before, the controlled environment of our /facilities/podcast-studio is ideal for achieving the cleanest and most focused vocal takes.
9. Isolate and Capture Instruments Effectively
Each instrument requires specific considerations for miking and recording. For loud, complex sources like drum kits or guitar amplifiers, close-miking is often used to capture the direct sound, complemented by room or overhead microphones to add natural ambience and space. Techniques like using gobos (go-betweens) or baffling can help reduce bleed between instruments in a live recording situation. Understanding how to capture the primary sound source cleanly before adding effects or processing is key.
10. Organize Your Session for Success
Good session organization is an often-overlooked aspect of professional recording tips. Before you begin recording, establish a clear naming convention for your session files and individual tracks. Grouping similar tracks (e.g., all drum mics, all vocal tracks) and labeling them clearly makes navigation and mixing much easier. Save your work frequently and consider implementing a backup strategy to protect against data loss. A well-organized session saves time and reduces stress during the critical mixing and mastering phases.
Conclusion
Implementing these recording tips will significantly enhance the quality of your audio productions. Remember, practice, experimentation, and a great environment are key. Our facilities at FreeMe Space are equipped to help you put these techniques into action and elevate your sound.
Ready to Record?
Ready to capture award-winning sound? Book your session at FreeMe Space today and experience the difference professional acoustics and equipment make. Contact us for rates and availability.